How to set up MERCUSYS Wi-Fi Router via the web management page
Introduction
This guide walks you through a complete MERCUSYS Wi-Fi router setup using the browser-based web management page. You can access the router setup page at mwlogin.net once your device is connected to the router.
Prefer using your phone? The MERCUSYS app offers a mobile alternative for router setup, see How to set up MERCUSYS Wi-Fi Router on the MERCUSYS App.
Requirements
A computer(recommended) or a mobile phone.
Get information about your Internet connection type from your Internet Service Provider (ISP). The internet connection type is usually one of the following three: Dynamic IP, PPPoE, or Static IP.
Configuration
The steps below use the MR27BE as a demonstration.
Note: Some router models may not have the same page situation as in the picture, but the path is consistent. Refer to the text description for the correct path.
Step 1. Connect the router to your modem
Connect your modem to the router’s WAN port via an Ethernet cable.
Alternatively, if your home has an Ethernet wall port, you can connect that directly to the router's WAN port instead.
Step 2. Connect the computer to the router
Wire your computer to the router’s LAN port with an Ethernet cable, or connect your PC to the router’s Wi-Fi.
The default SSID (Network Name) and wireless password are printed on the label at the bottom of the router.
Step 3. Log in to the router’s web management page
Open Chrome, Firefox, or Edge for the best compatibility with the web management page. Type one of the following addresses directly into your browser's address bar and press Enter:
mwlogin.net
192.168.1.1
Do not enter these into a search engine — they must be typed into the address bar to reach the router setup page.
For details, please refer to How to log in to the web management page of MERCUSYS Wireless Router
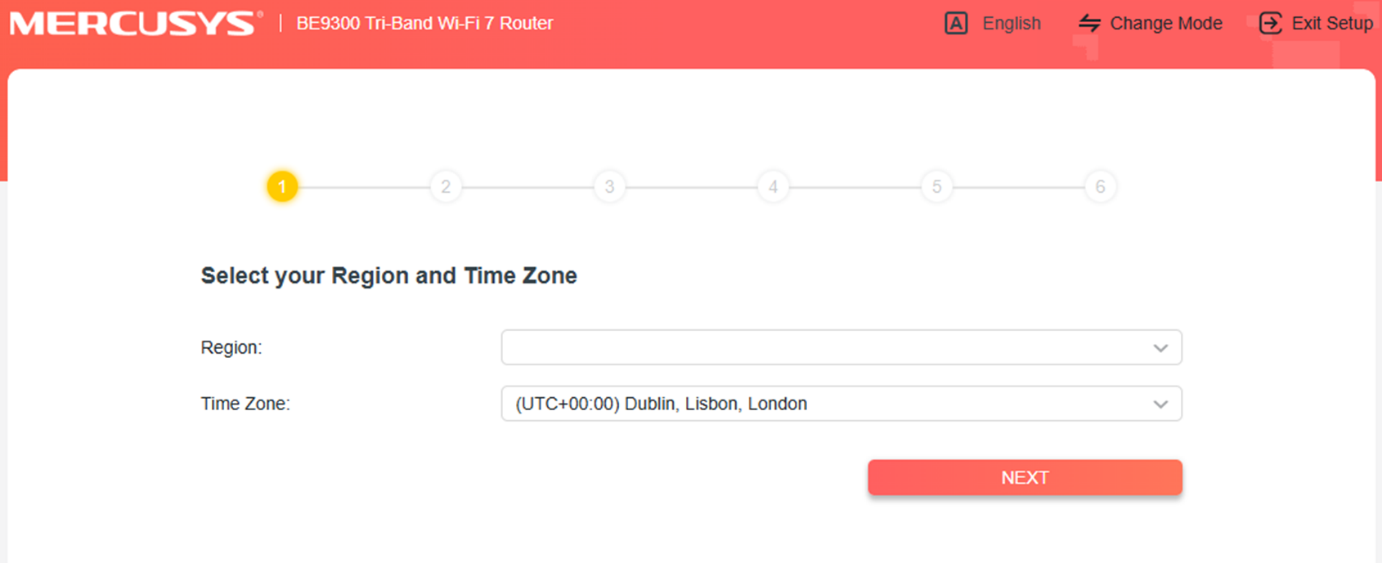
Step 4. Select the Region and Time Zone
When the setup wizard appears, select your time zone and region from the dropdown menu and click Next.
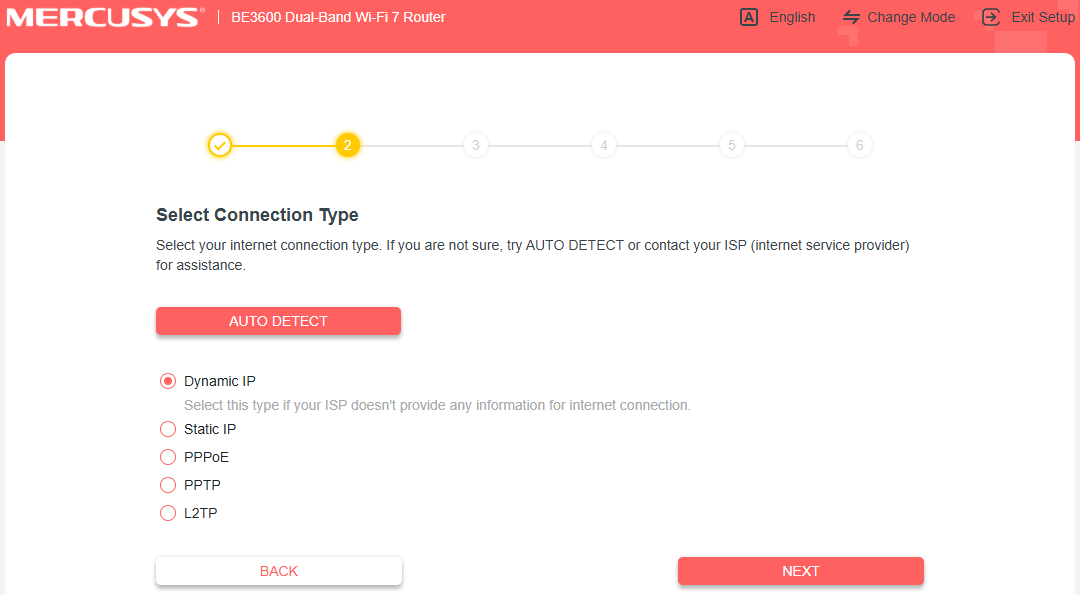
Step 5. Select your Internet Connection Type
On the Connection Type screen, choose the option that matches your ISP configuration. You can also click AUTO DETECT to let the router identify it automatically. If you are unsure, contact your ISP directly.
Common Connection Types:
Dynamic IP: Used by most cable Internet users. If your ISP does not provide login credentials, this is likely your connection type.
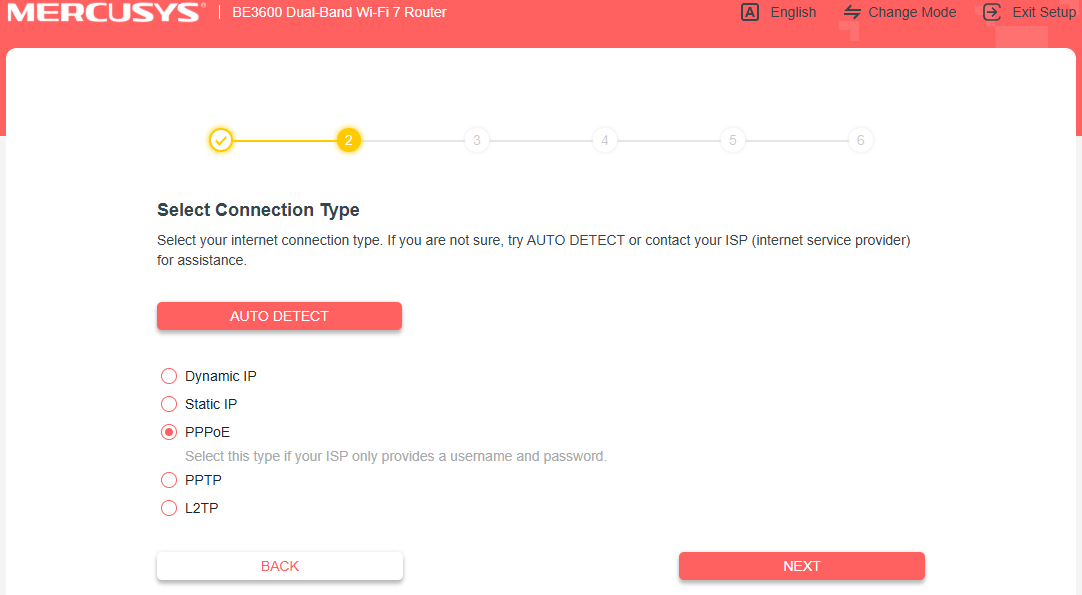
PPPoE: Common for DSL users. Requires a username and password provided by your ISP.
Static IP: Your ISP provides a fixed IP address and related settings.
If your connection type is Dynamic IP, select it and click Next.
If your connection type is PPPoE, enter the username and password provided by your ISP, then click Next to continue.
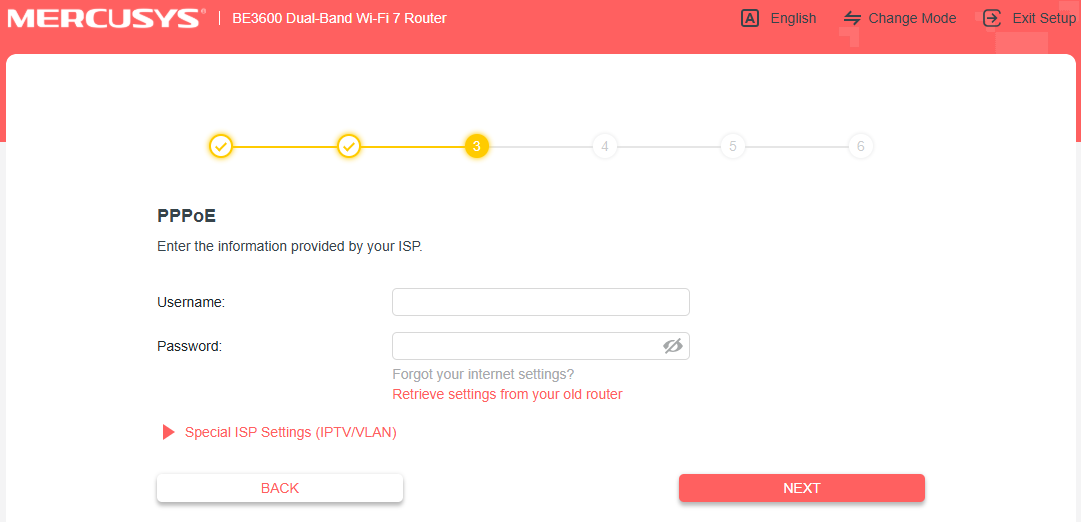
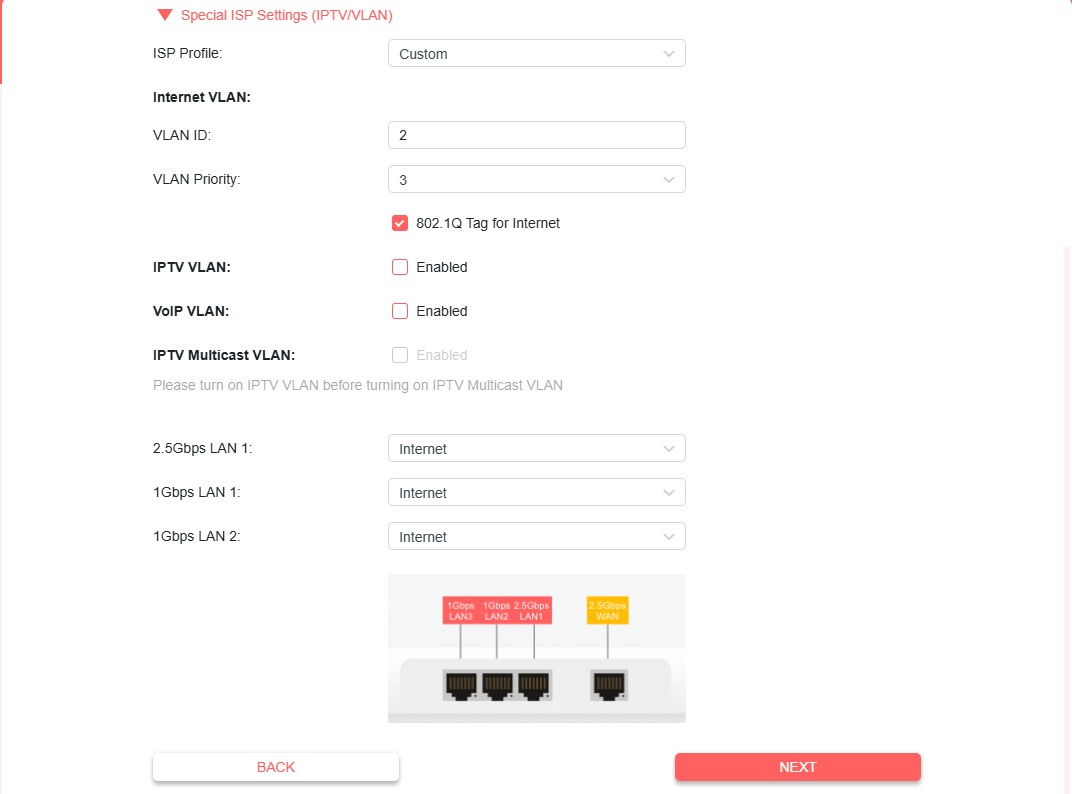
If your ISP requires a VLAN ID, click Special ISP Settings (IPTV/VLAN) and follow these steps:
Select Custom if your ISP is not in the list.
Enter the VLAN ID provided by your ISP.
Check 802.1Q Tag and leave the priority at the default setting.
Choose Internet for all LAN ports.
Do not change other settings unless necessary, then click Next.
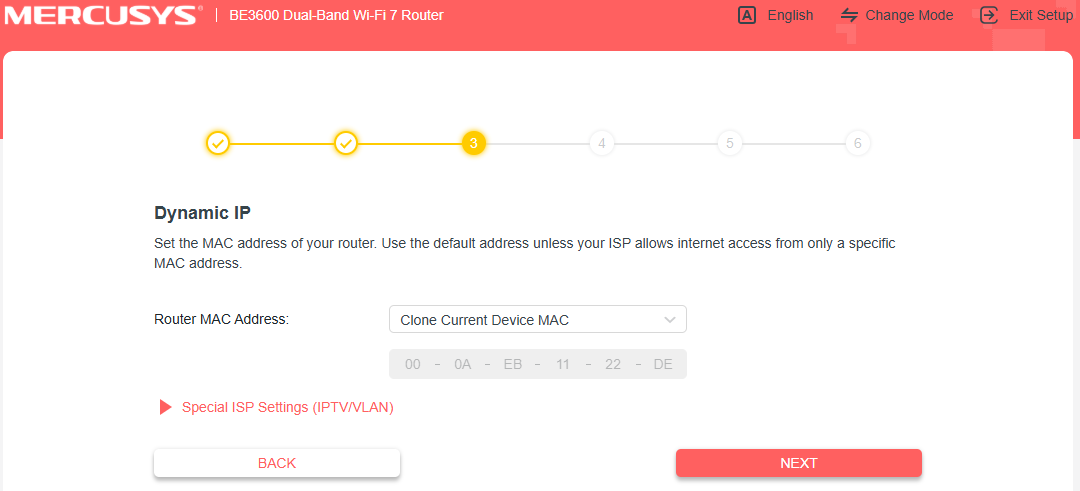
Step 6. Set Your Router's MAC Address
Choose the MAC address setting for your router. If unsure, select Use Default MAC Address and click Next.
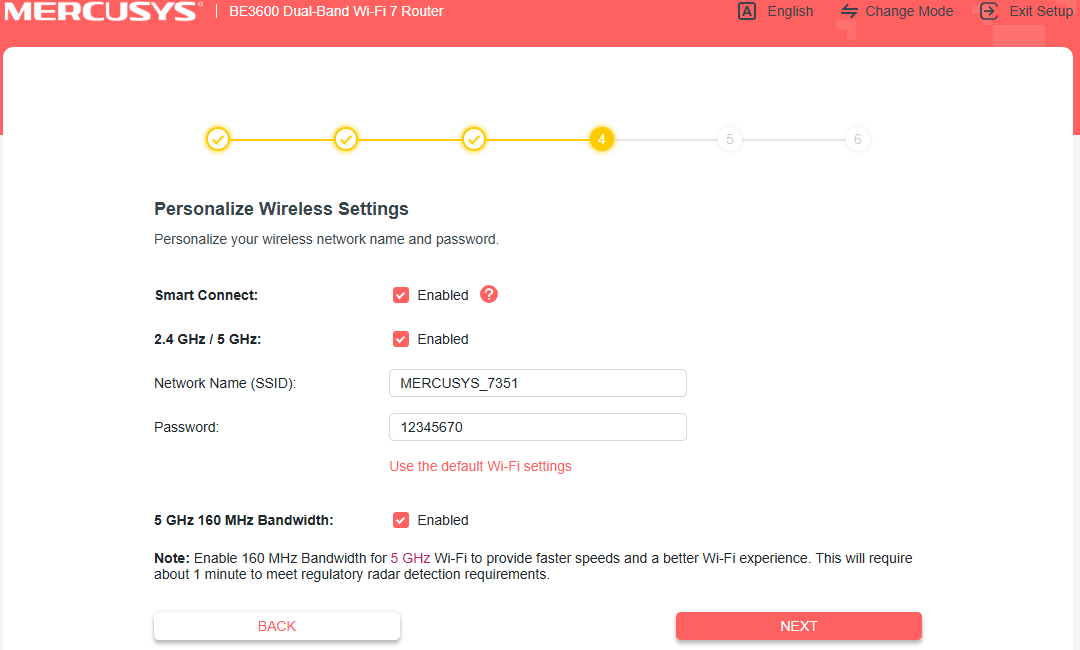
Step 7. Set Your Wi-Fi Name and Password
Customize your wireless network name and password for both the 2.4 GHz and 5 GHz bands. Click Next when finished.
Step 8. Wait for the Internet Connection Test
The router will run a connection test automatically. Please wait a few seconds for the process to complete.

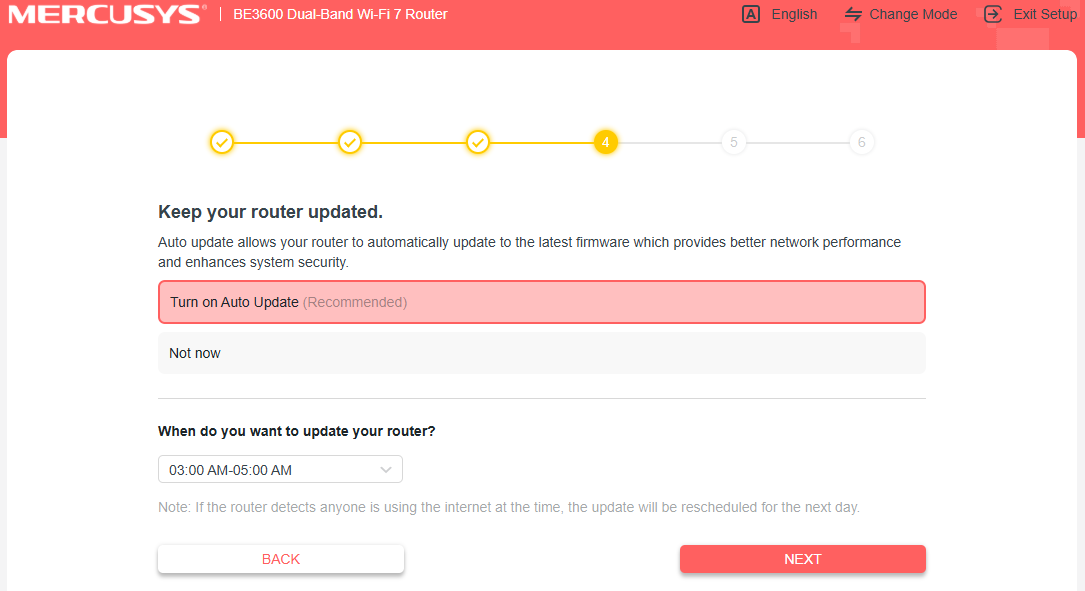
Step 9. Set Your Firmware Update Preference
Choose whether to enable Auto Update. Enabling this option is recommended for better performance and security. Click Next to continue.
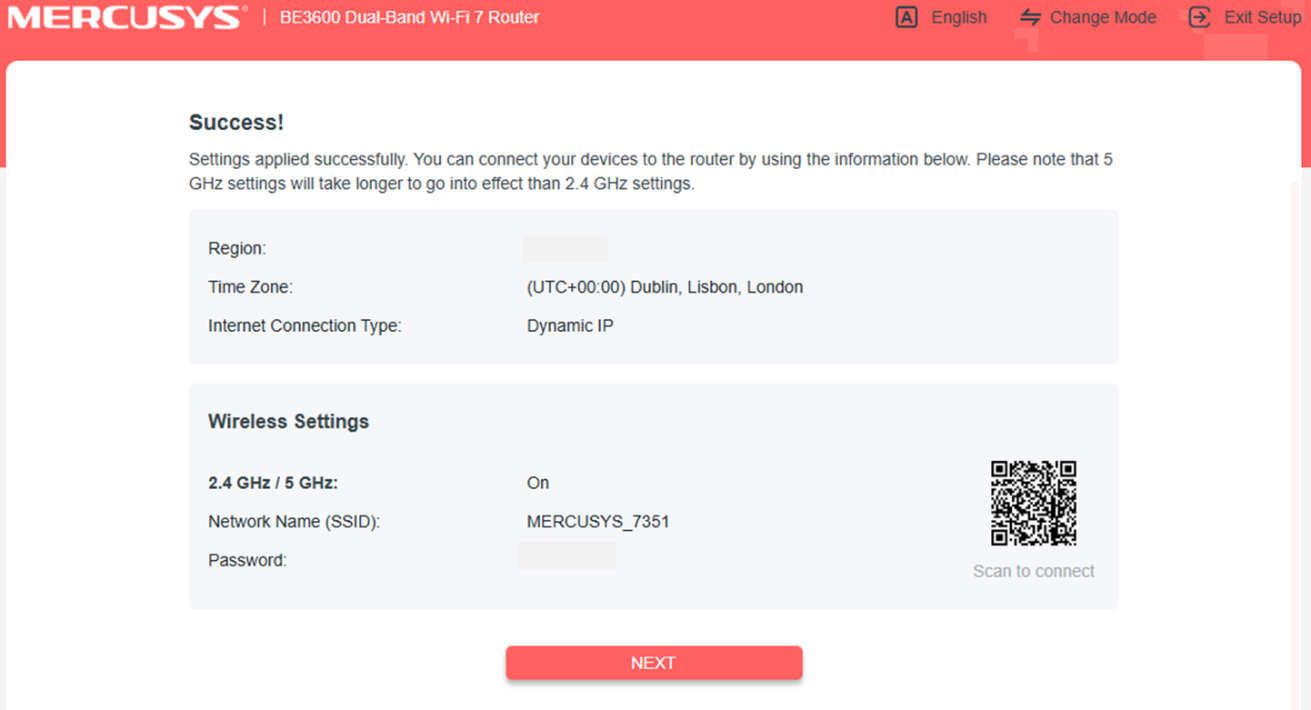
Step 10. Setup Complete
Your router setup is now complete. The confirmation screen shows your region, time zone, Internet connection type, and wireless settings. Click Next to finish.
Troubleshooting
Can't reach mwlogin.net? Try entering 192.168.1.1 directly in your browser's address bar instead. Make sure your device is connected to the router, not another network. See What can I do if I fail to access mwlogin.net? for more help.
Setup wizard not appearing? Clear your browser cache and try again. Confirm that your browser is Chrome, Firefox, or Edge, and that you typed the address into the address bar rather than a search bar.
Internet connection test fails? Double-check that your Ethernet cable is fully seated in both the modem and the router's WAN port. If your connection type is PPPoE, confirm your ISP credentials are correct. See What should I do if I cannot access the Internet through MERCUSYS router? for further help.
Get to know more details of each function and configuration please go to Support Center to download the manual of your product.